
Oceanic BioCube 29
Tuesday, July 3, 2007

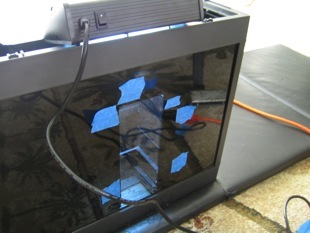
This aquarium was actually started July 2007. I have done many modifications to this BioCube in the goal of growing an SPS aquarium in a small tank. I started by building a 3 sided raised platform on the bottom of the tank. about 2in. high topped by black egg crate. I originally put sand all around that but it was always blew away from the front staying only on the sides so I reduced the amount of sand and used a larger size (1mm to 2mm grain size). The following set of pictures I will show the modifications that worked.
I modified the sump compartment to allow me to put in a lot of stuff... larger felt filter. large protein skimmer, heater, refugium for chaeto and live rock, external pump and chiller, auto top-off, PH probe, um what else oh yeah, calcium reactor.
3 sided raised platform
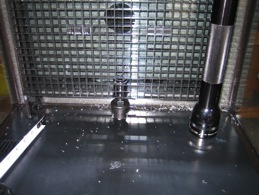
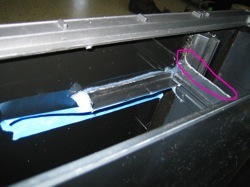
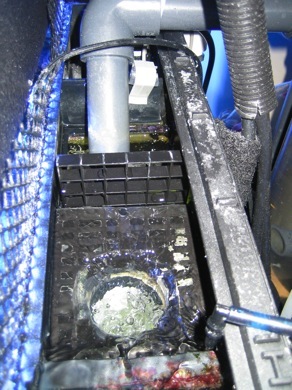
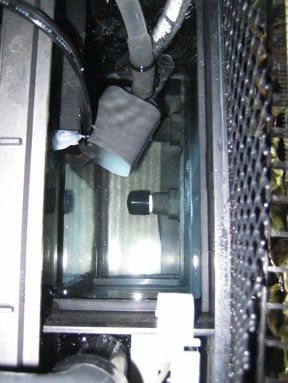
I highly modified the sump area using a dremel tool. Most all of the parts I needed I made from the parts that I removed.
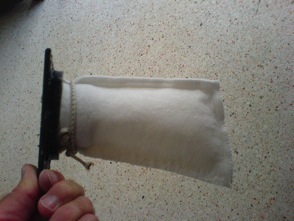
Filtersock insert and sock. I made the insert out of parts that I removed from the back of the BC29 and a 2 inch bulkhead.
Filtersock in place.
Return and Bulkhead.
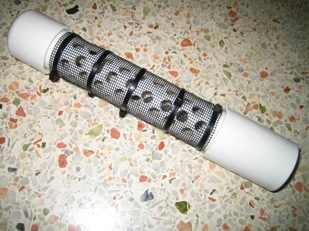
Pump intake prefilter 3/4in pvc w/ nylon screen.
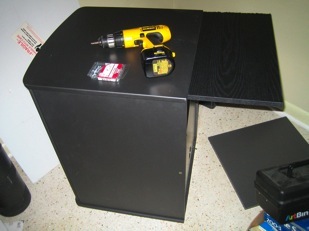
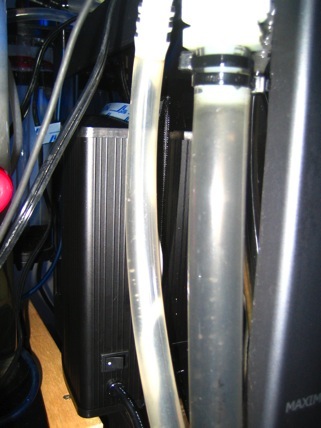
Equipment shelf on back of stand.
Gutter guard screen.
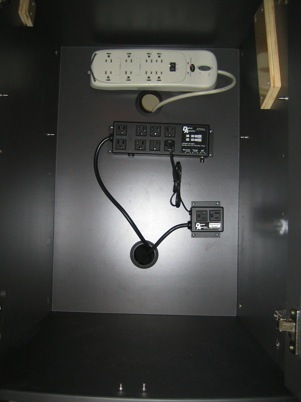
Inside stand electrical.
Control and monitor panel as well as RO/DI makeup water.
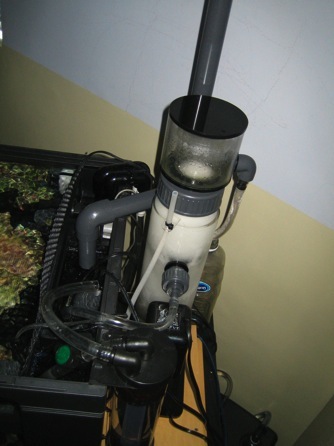
Protein skimmer and sump area.
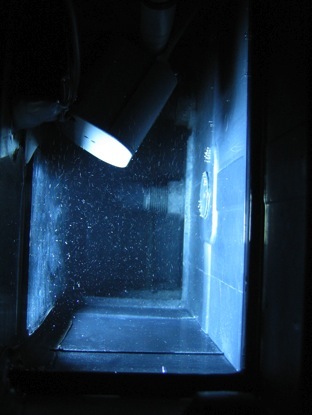
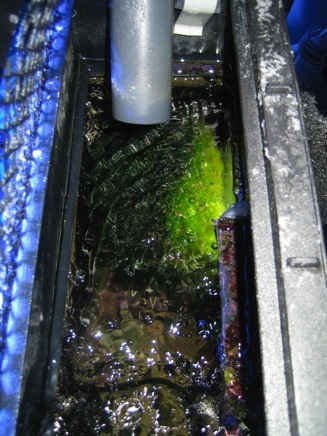
Refugium area.
Scraping away paint on the back glass for refugium and 9watt compact light to grow chatemorph.
Nine watt light for refugium.
Refugium with light on.
Chatamorph in the refugium.
Original SunPac 150watt MH with 18watt actinics.
This is my first SPS aquarium. The reason I did such a small SPS aquarium was that I knew I was moving in a few months. After having run this aquarium for almost two years I believe you can run a SPS aquarium in a 29 gallon aquarium. But it takes a constant vigil to keep the water conditions stable. SPS Like high quality STABLE water conditions.


